
 العربية
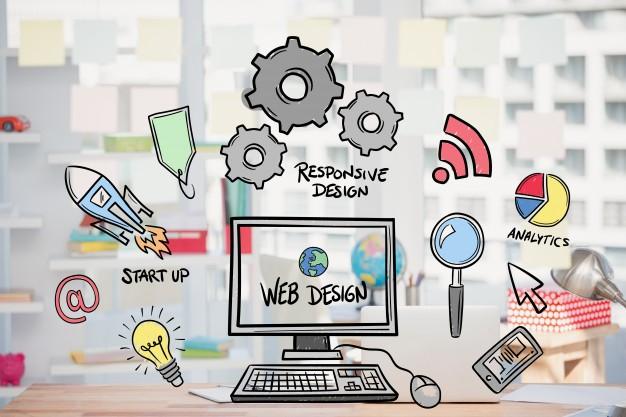
Apr
Web Development
How to create a website? The Ultimate Guide
You have to know how to create a website in this day and age if you want to make your business or creative career grow. This is to showcase to the world what you have to offer to them and what you have to add to their experience when seeking the product or service of your expertise.
And the best part is that it’s not so tough to create a website these days. As opposed to the past, you don’t have to learn how to write code. You don’t have to learn anything at all! There are plenty of websites that facilitate the creative process. So, keep on reading to know all the info you need.
Three Main Factors to Know How to Create a Website
When creating a website, the three concepts you’ll need to wrap your head around are as follows:
- Domain Name: Which is the web address of your website (www.WebsiteName.com).
- Website Hosting: The service that hosts your website.
- WordPress: This is a free platform that spares you the coding needed to create the website.
You can’t do without the domain name or website hosting service, as they’re how you can make your website available and accessible to the world. And while you can use other platforms for creation, WordPress is the most popular and most commonly used with the virtue of how easy it is to use. Its one-click technique is what makes it super intuitive, and that’s why it’s used by 39% of websites on the internet.
The Steps
Here are all the steps you’ll need to follow to complete the process of creating a website.
1. Choosing a Domain Name and Registering It
Once you settle on a domain name that reflects the vision of your business, you have to make sure that it’s available for purchase through a domain registrar.
Your domain name needs to relate to the product or service you have to offer as well as be easy to remember. If you need help with this process, you can get the help of a dedicated agency or branding service.
2. Signing Up for a Web Hosting Service
Next on the list is website hosting, which is the part where you make sure your data is stored for immediate access. While some big websites have their own servers and host their own websites, if you’re a single person or a small business, this kind of expense would be too large.
Further budget constraints may dictate that you use a shared web host, which means that the servers you use would be used by other websites as well. However, if you can afford it, opt for private servers, as this spares you the worry about deteriorating speed due to shared storage.
As previously mentioned, you can get the help of a branding service when it comes to both finding a domain name as well as hosting your website. They offer ready-made packages, and you can choose the one that best suits you.
3. Setting Up the Website
Now you’ll need to choose a website building platform (also known as content management systems or CMS) and install it.
And though there are plenty of options, including Drupal, Joomla, Magento, and SharePoint, the easiest one to use is WordPress, and it presents you with plenty of free designs as well as handy add-ons that enable you to personalize your website while keeping it looking professional and unique.
You’ll find the option to install WordPress in the cPanel for hosting, but if you can’t find the one-click install option, you can manually set it up.
4. Customization and Personalization
Make sure to pick a design and branding and follow them throughout the website pages. Plenty of CMS, including WordPress, give you templates and themes that you can choose to apply to the whole website to keep its integrity and style.
Also, make sure to add a logo to your website to avoid making it look generic as well as to achieve the right level of branding and personalization.
5. Adding Pages and Content to Your Website
There’s a certain template that all websites follow, and it’s the best way to help users navigate the website and get to know your business, brand, and yourself. So, make sure your website has the following:
- Homepage: This is the landing page that all users will see, so make sure it’s engaging and send the message shortly and clearly.
- About Page: This is where you explain what the website is all about, and maybe tell the story of how and why it started.
- Contact Page: Where users can send you emails, find the number of your business, or locate your in-person store.
- Blog Page: This is where you add your blog posts or announcements related to your company.
- Service Page or Shop Page: This is the page where you showcase your services or upload products if you’re planning to create an eCommerce store.
If your website is going to act as an eCommerce store, make sure to add a “Cart” where customers add their selected products, a “Checkout” where they can finalize their purchases, and finally, a “My Account” page where they can check their profile, shipping details, and billing details.
Final Thoughts
Now that you know all the steps that the process entails, you should be good to go. However, if you feel like it sounds too complicated or too long, you might want to use a handy agency that already has everything planned and simply offers you packages for the service.
This might be a better option if you’re only getting started as it helps present yourself in a professional way without compromising the individuality of your brand.